Labels
Labels provide an easy way to categorize the issues or merge requests based on
descriptive titles like bug, documentation or any other text you feel like.
They can have different colors, a description, and are visible throughout
the issue tracker or inside each issue individually.
With labels, you can navigate the issue tracker and filter any bloated information to visualize only the issues you are interested in. Let's see how that works.
Create new labels
Note: A permission level of
Developeror higher is required in order to manage labels.
Head over a single project and navigate to Issues > Labels.
The first time you visit this page, you'll notice that there are no labels created yet.
Creating a new label from scratch is as easy as pressing the New label button. From there on you can choose the name, give it an optional description, a color and you are set.
When you are ready press the Create label button to create the new label.
Default labels
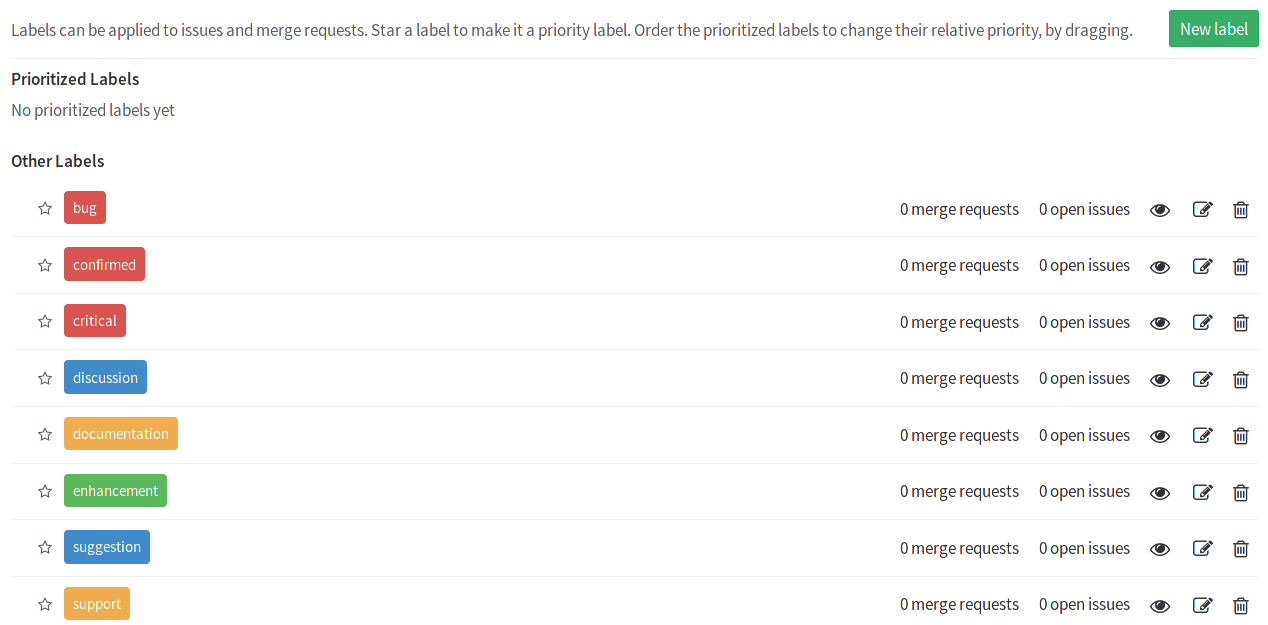
The very first time you visit the labels area, it's gonna be empty. In that case, it's possible to populate the labels for your project from a set of predefined labels.
Click the link to 'Generate a default set of labels' and GitLab will generate them for you. There are 8 default generated labels in total:
- bug
- confirmed
- critical
- discussion
- documentation
- enhancement
- suggestion
- support
Labels Overview
You can see that from the labels page you can have an overview of the number of issues and merge requests assigned to each label.
Prioritize labels
Notes:
- Introduced in GitLab 8.9.
- Priority sorting is based on the highest priority label only. This might change in the future, follow the discussion in https://gitlab.com/gitlab-org/gitlab-ce/issues/18554.
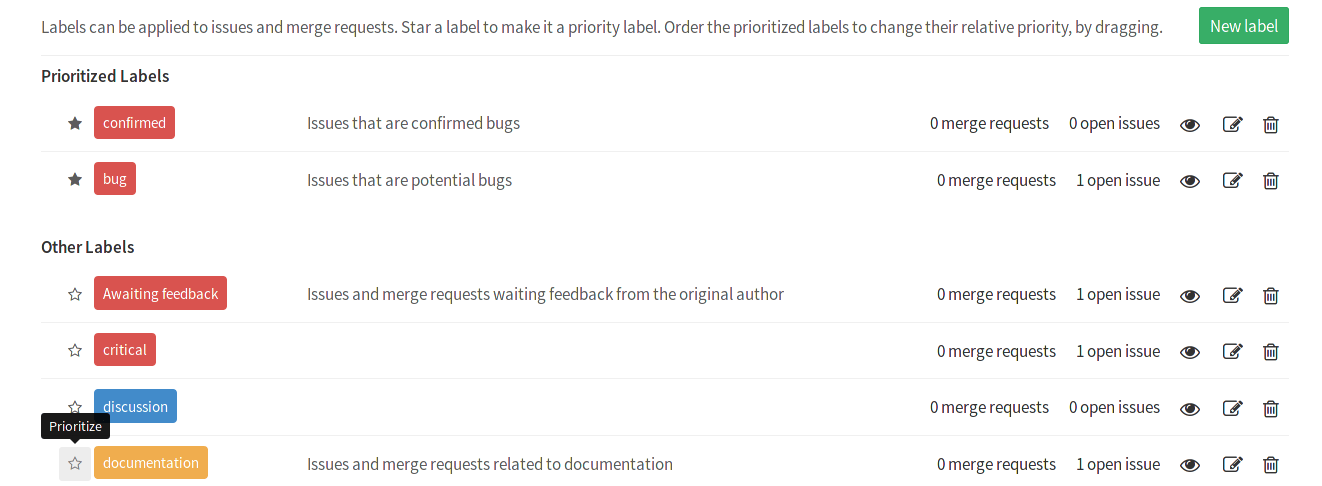
Prioritized labels are like any other label, but sorted by priority. This allows you to sort issues and merge requests by label priority.
To prioritize labels, navigate to your project's Issues > Labels and click on the star icon next to them to put them in the priority list. Click on the star icon again to remove them from the list.
From there, you can drag them around to set the desired priority. Priority is set from high to low with an ascending order. Labels with no priority, count as having their priority set to null.
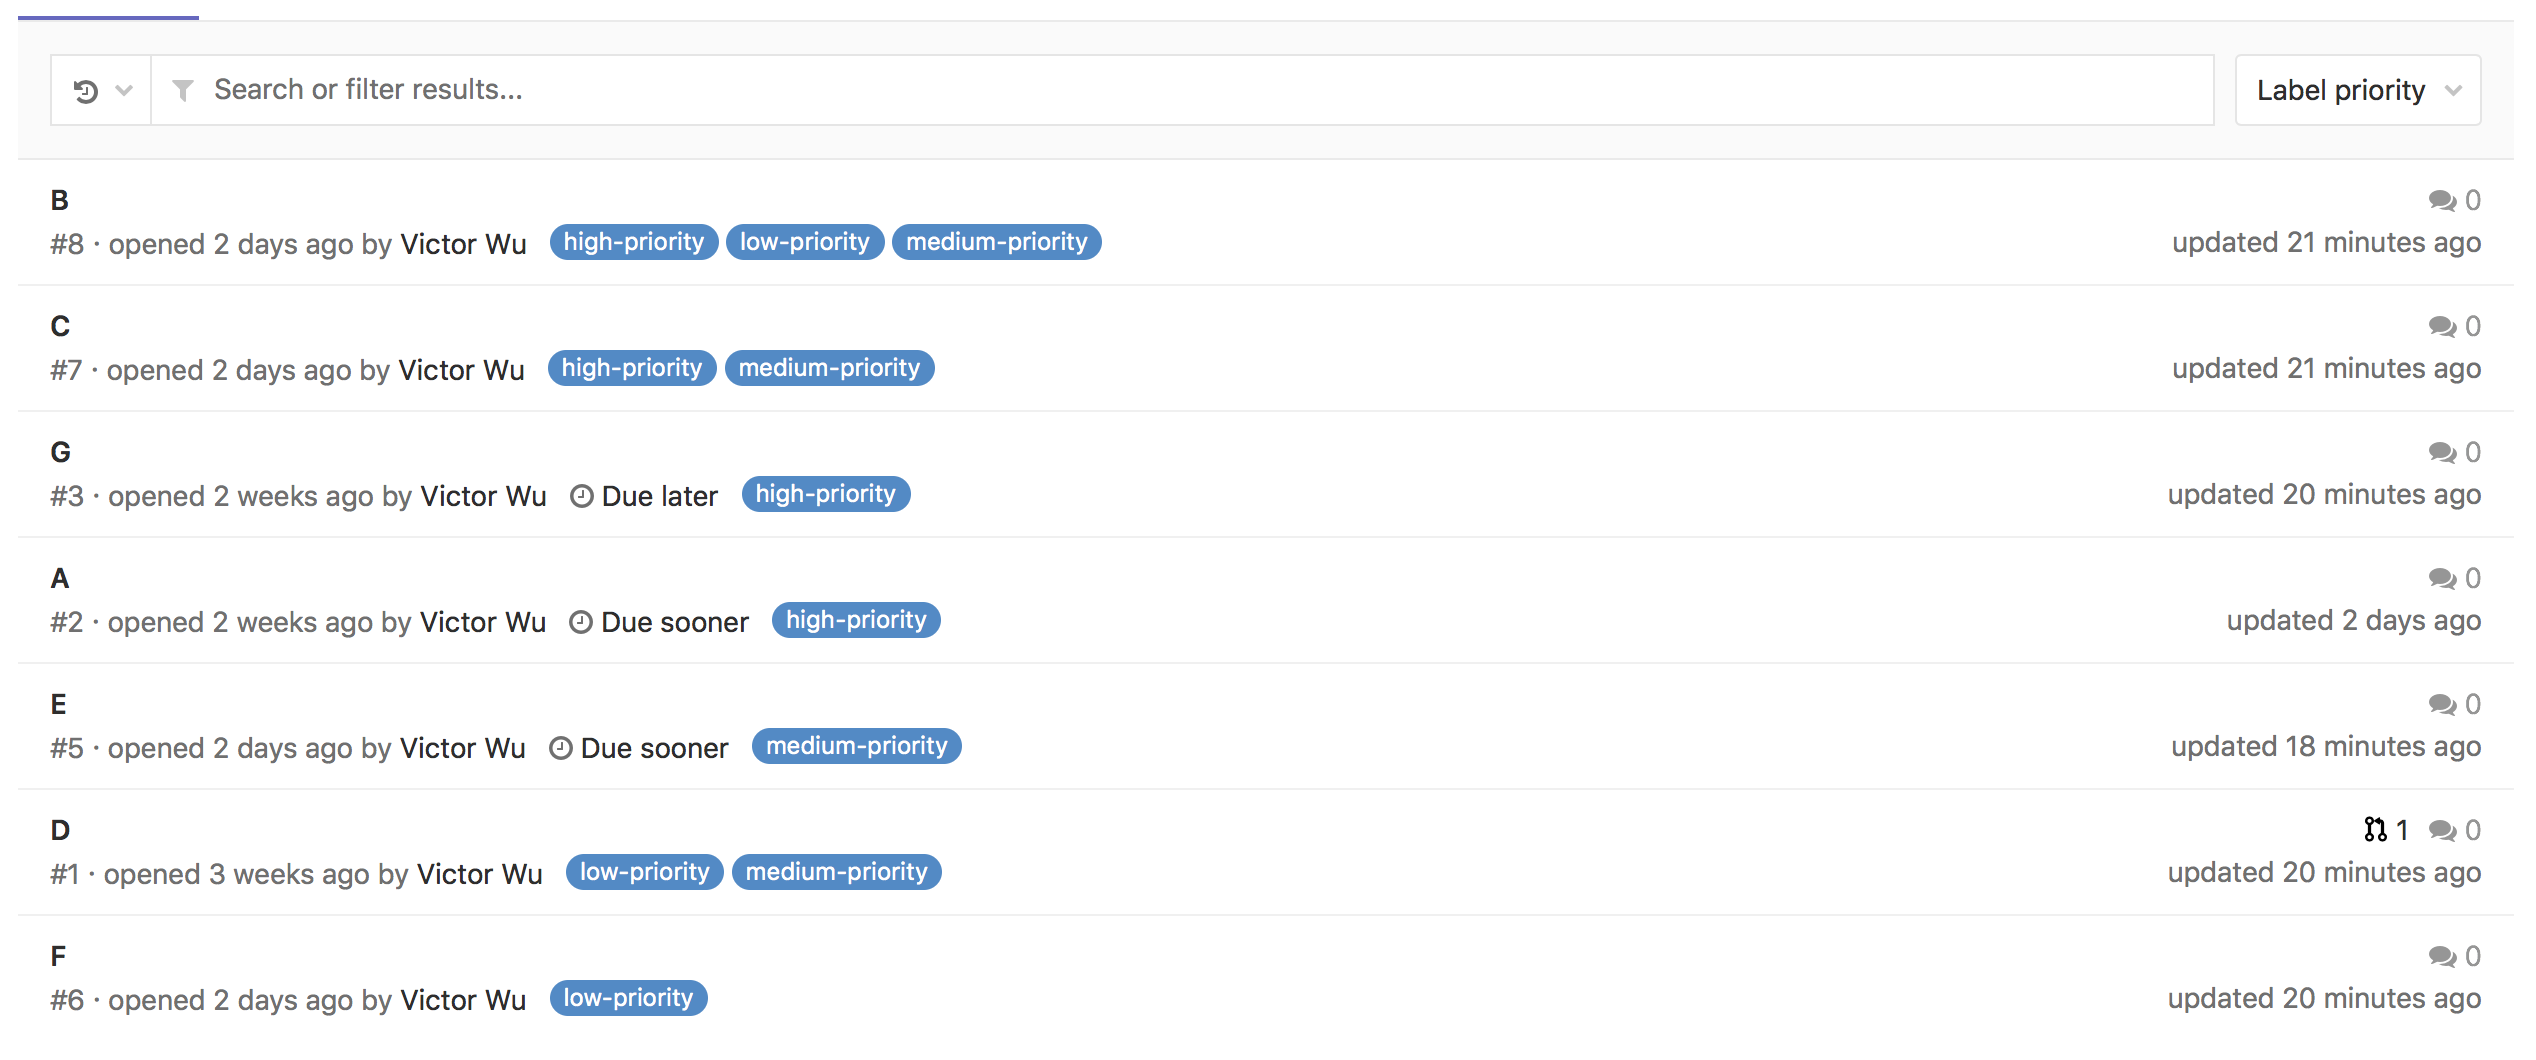
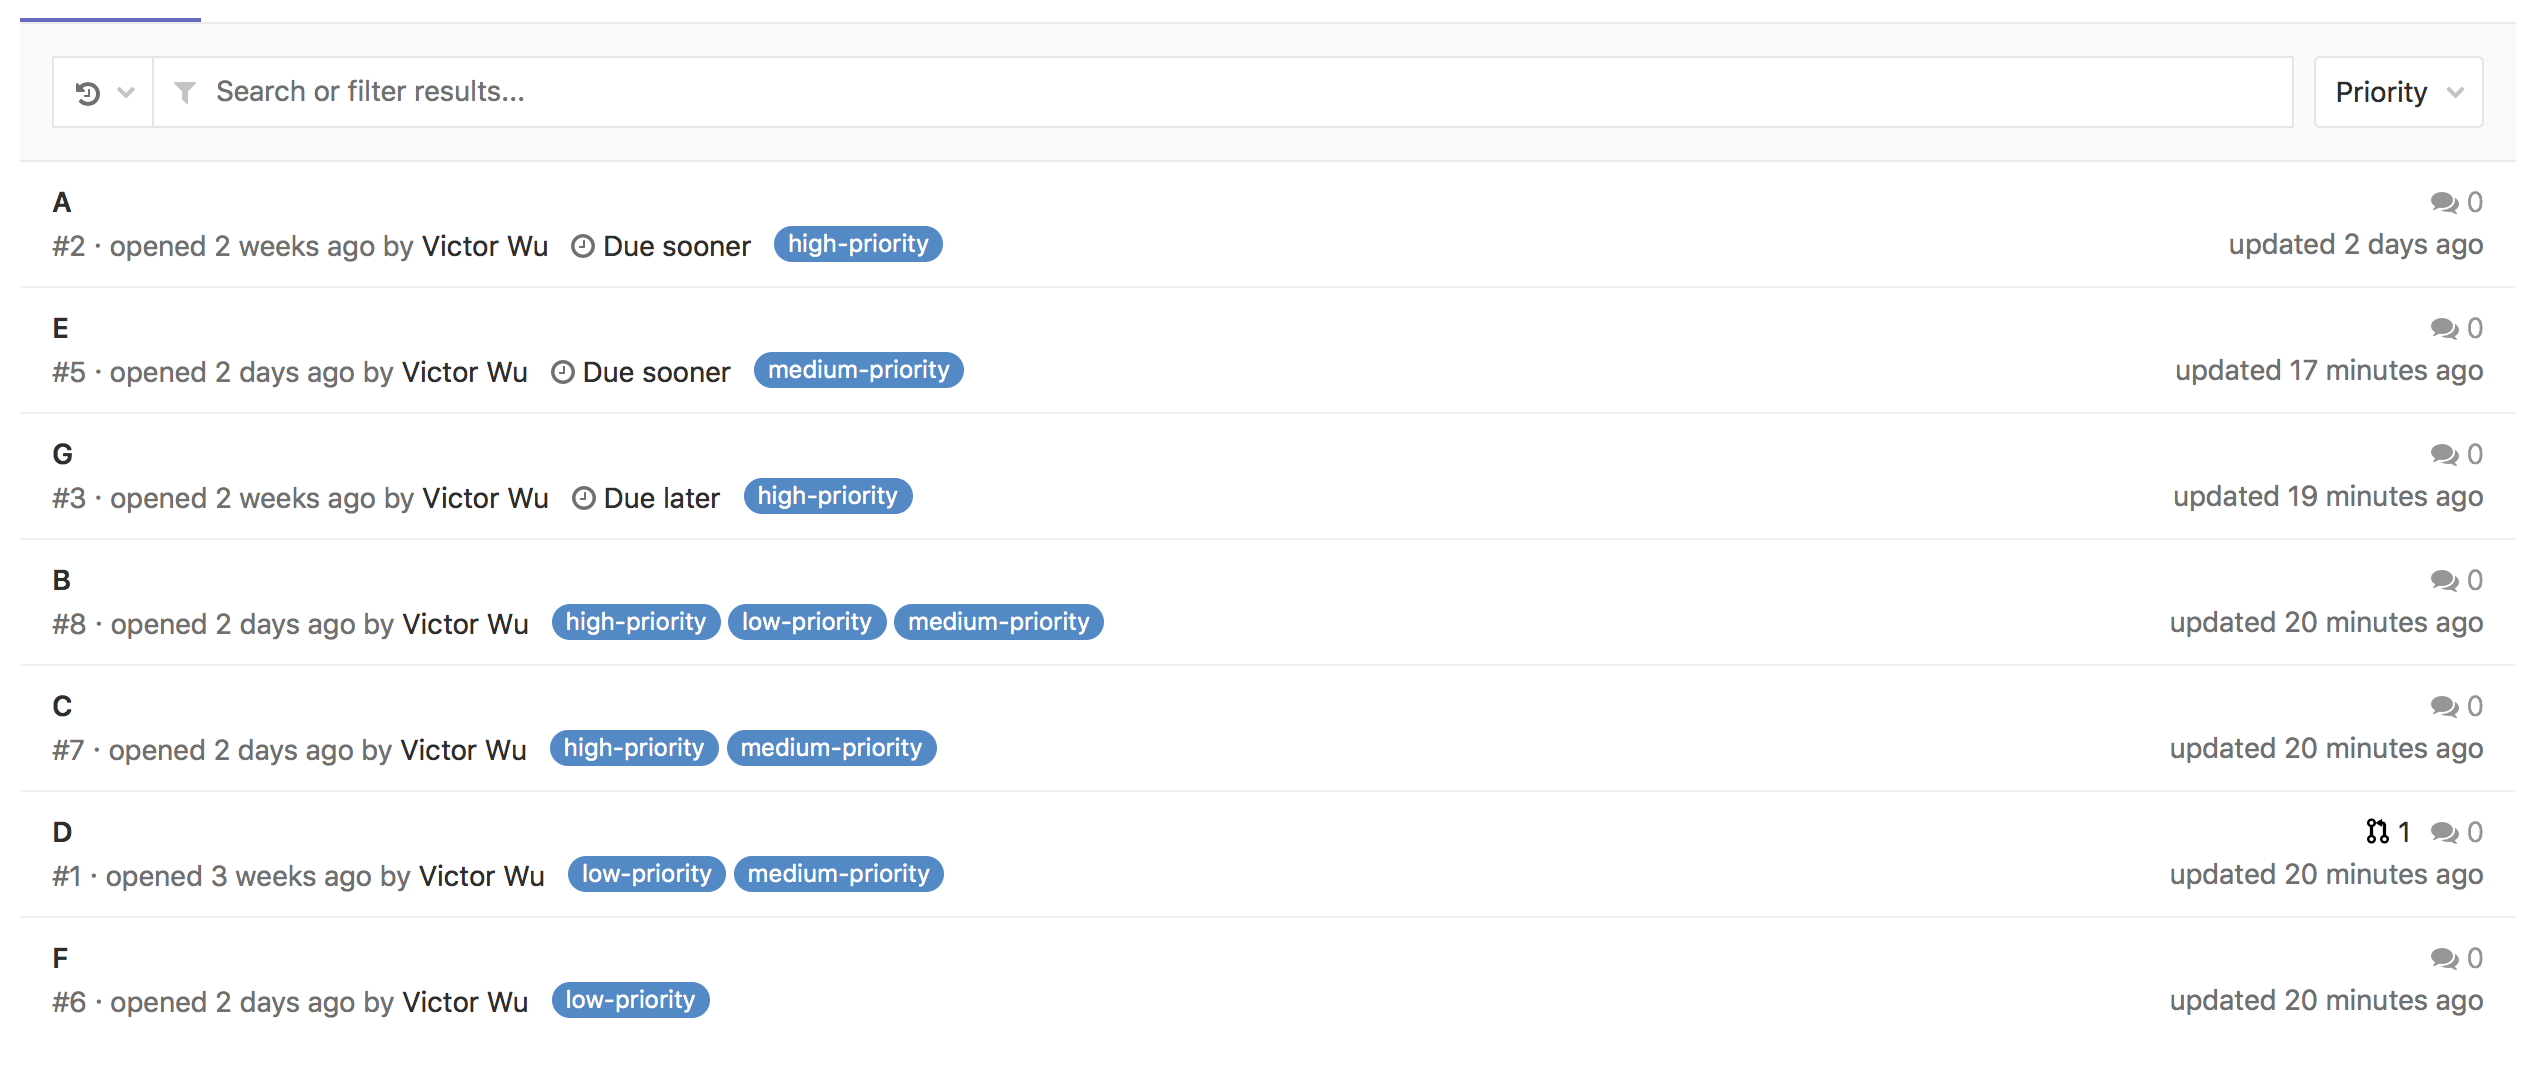
Now that you have labels prioritized, you can use the 'Label priority' and 'Priority' sort orders in the issues or merge requests tracker.
In the following, everything applies to both issues and merge requests, but we'll refer to just issues for brevity.
The 'Label priority' sort order positions issues with higher priority labels toward the top, and issues with lower priority labels toward the bottom. A non-prioritized label is considered to have the lowest priority. For a given issue, we only consider the highest priority label assigned to it in the comparison. (We are discussing including all the labels in a given issue for this comparison.) Given two issues are equal according to this sort comparison, their relative order is equal, and therefore it's not guaranteed that one will be always above the other.
The 'Priority' sort order comparison first considers an issue's milestone's due date, (if the issue is assigned a milestone and the milestone's due date exists), and then secondarily considers the label priority comparison above. Sooner due dates results a higher sort order. If an issue doesn't have a milestone due date, it is equivalent to being assigned to a milestone that has a due date in the infinite future. Given two issues are equal according to this two-stage sort comparison, their relative order is equal, and therefore it's not guaranteed that one will be always above the other.
Subscribe to labels
If you don’t want to miss issues or merge requests that are important to you, simply subscribe to a label. You’ll get notified via email whenever the label gets added to an issue or merge request, making sure you don’t miss a thing.
Go to your project's Issues > Labels area, find the label(s) you want to subscribe to and click on the eye icon. Click again to unsubscribe.
If you work on a large or popular project, try subscribing only to the labels that are relevant to you. You’ll notice it’ll be much easier to focus on what’s important.
Create a new label when inside an issue
There are times when you are already inside an issue searching to assign a label, only to realize it doesn't exist. Instead of going to the Labels page and being distracted from your original purpose, you can create new labels on the fly.
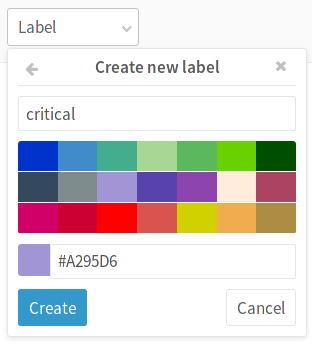
Expand the issue sidebar and select Create new label from the labels dropdown list. Provide a name, pick a color and hit Create. The new label will be ready to used right away!
Assigning labels to issues and merge requests
There are generally two ways to assign a label to an issue or merge request.
The first one is to assign a label when you first create or edit an issue or merge request.
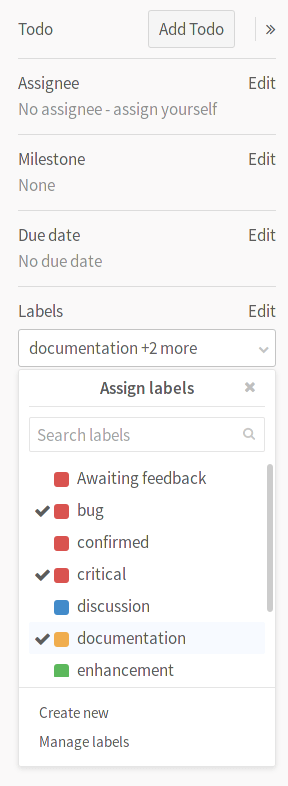
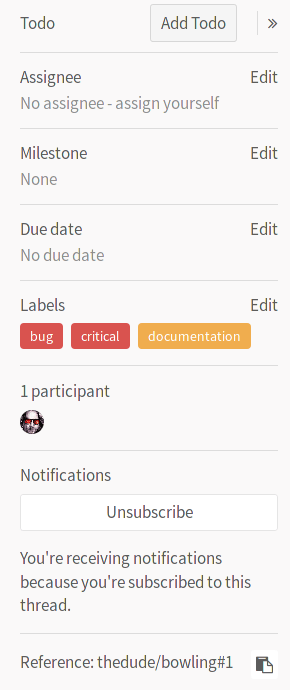
The second way is by using the right sidebar when inside an issue or merge request. Expand it and hit Edit in the labels area. Start typing the name of the label you are looking for to narrow down the list, and select it. You can add more than one labels at once. When done, click outside the sidebar area for the changes to take effect.
To remove labels, expand the left sidebar and unmark them from the labels list. Simple as that.
Use labels to filter issues
Once you start adding labels to your issues, you'll see the benefit of it. Labels can have several uses, one of them being the quick filtering of issues or merge requests.
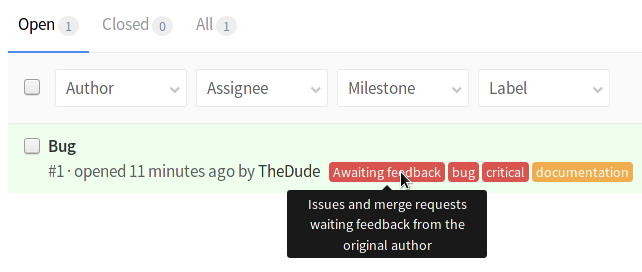
Pick an existing label from the dropdown Label menu or click on an existing label from the issue tracker. In the latter case, you also get to see the label description like shown below.
And if you added a description to your label, you can see it by hovering your mouse over the label in the issue tracker or wherever else the label is rendered.

